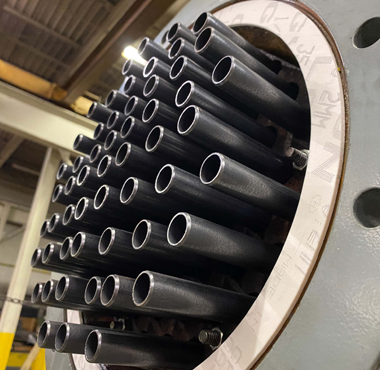
Mockup tests as per ASME Section IX are routinely performed at VSP Testing and Calibration Laboratory. All welds in the mockup assembly undergo the following tests and must meet the applicable acceptance criteria:

Visual Examination :
♦ The accessible surfaces of the welds are visually examined without magnification. The welds must show complete fusion, be free from visible cracks or porosity, and exhibit no signs of burning through the tube wall.
Liquid Penetrant:
♦ The liquid penetrant examination complies with the requirements of Section V, Article 6 of ASME Section IX. The weld surfaces must meet the standards specified in QW-195.2.
Macro-Examination:
♦ The mockup welds are sectioned through the center of the tube for macro-examination. The four exposed surfaces are smoothed and etched with a suitable etchant (as per QW-470) to clearly define the weld and heat-affected zone. With magnification between 10X and 20X, the cross sections of the welds must confirm: (a) the minimum leak path dimension required by the design, (b) absence of cracking, and (c) complete fusion of the weld deposit into the tubesheet and tube wall face.